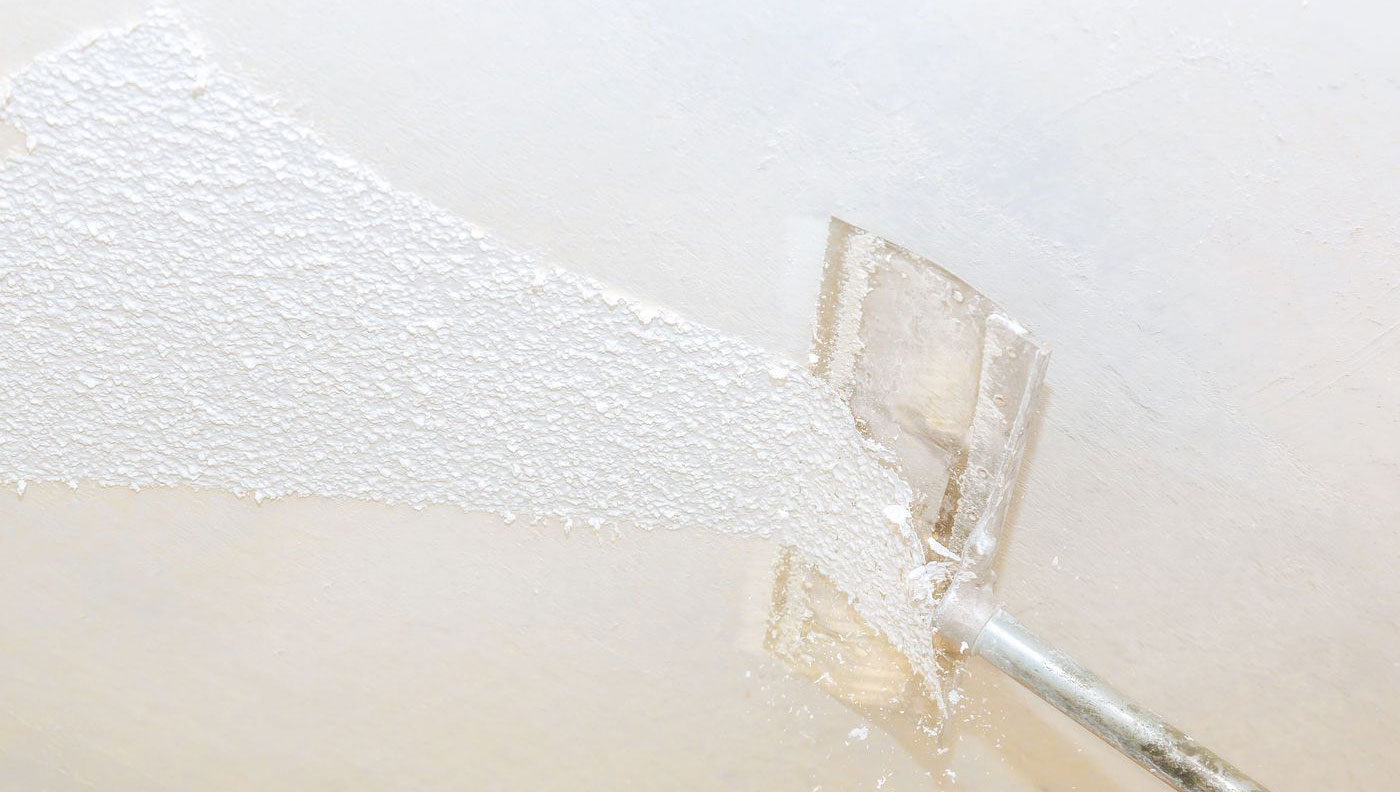
Textured ceilings helped to absorb sound and tone down echoes, which made them pretty popular in the past. Since then, the look has fallen out style, and is pretty much never used in modern design. Unfortunately, it’s still present in a lot of older homes. This probably has a lot to do with the fact that popcorn ceilings can be incredibly difficult to remove.
While it might be tempting to try and remove it yourself, it’s the sort of task that is best left to the experts. Not only is it a tough job, but it can also present some safety concerns. When you’re ready to finally get rid of that popcorn ceiling, there are a few things you need to consider.
POPCORN & TEXTURED CEILING REMOVAL PROCESS
To understand the process of removing a popcorn ceiling or any textured ceiling, we need to take a look at what it actually is. This spray-on or paint-on ceiling treatment used to contain white asbestos, but after the 70s, it moved to a paper-based or Styrofoam product to create the texture. Removing it can turn into a much more complicated process, depending on what kind of material is used.
There’s one thing you can guarantee when removing any type of textured ceiling treatment: it’s going to be a multi-step process. We’ve laid out the steps below to give you an idea of what it’s like.
THE PROCESS OF POPCORN CEILING REMOVAL AND PAINTING:
- Removing light switches and fixtures from the room.
- All furniture and floors are fully masked due to the sufficient level of residue, dust and material removed.
- Unpainted stucco (popcorn ceiling) is easier to remove as it just requires a water-based solution which dissolves the stucco.
- Painted stucco requires increased effort to remove and often results in further prep after removal due to the substrate being affected.
- After removal, the substrate will be fully filled to provide a new flat finish.
- New filling will be sanded and primed in advance of application of the finish coat.
- All removed material will be vacuumed and cleaned.

